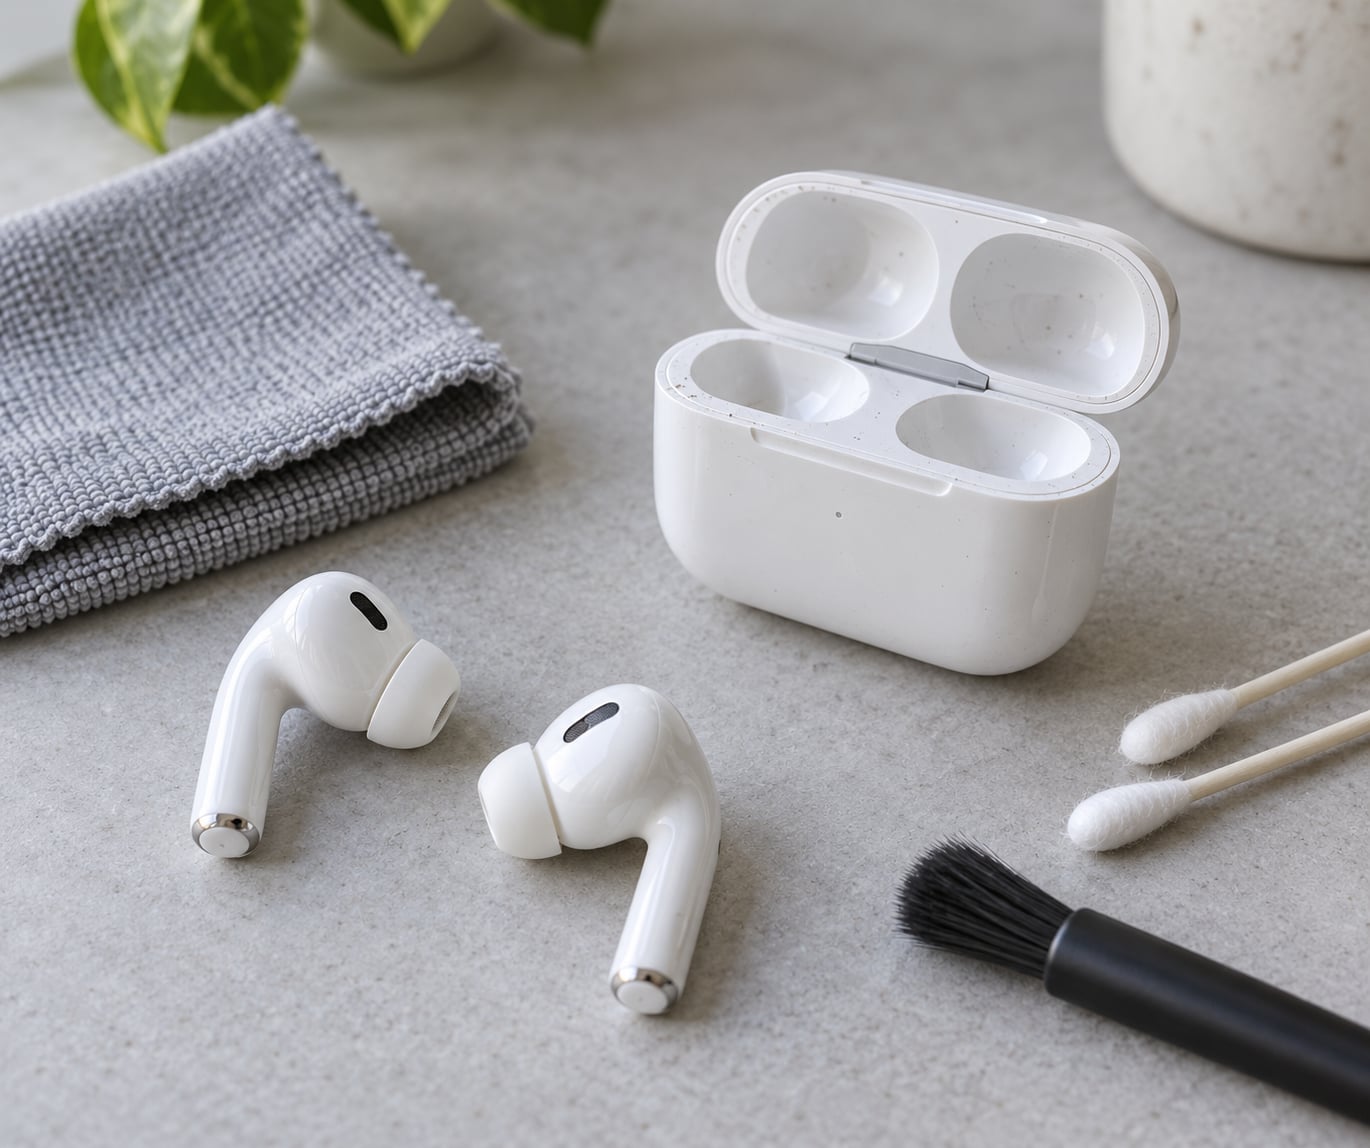
To clean AirPods without damaging them, use three things: a dry or barely damp microfiber cloth for the shells, a soft-bristled toothbrush dampened with micellar water for the speaker mesh, and a dry cotton swab for the inside of the charging case. Nothing liquid goes inside an opening, and everything air-dries for at least two hours before you wear or recharge it.
Wax, dust and skin oils compact against the fine acoustic mesh on each earbud, and that blockage is what makes one AirPod quieter than the other or drains the bass out of both. The whole job takes about ten minutes, needs no special kit, and carries one real risk: the speaker mesh tears, and a torn mesh does not grow back.
That fear is the reason so much cleaning advice online contradicts itself. Forum threads pass around hydrogen peroxide and soaking, while first-party guidance stays on brushes, cloths and two hours of drying. What follows is the conservative method, plus a clear list of the approaches that permanently damage earbuds so you can skip them.
Table of Contents
- 1What You Need
- 2Step-by-Step: How to Clean AirPods Without Damaging Them
- 3Step 1: Remove the AirPods and Check for Existing Damage
- 4Step 2: Wipe the Earbud Surfaces
- 5Step 3: Clean the Speaker Grilles and Microphones Carefully
- 6Step 4: Clean the Charging Case
- 7Step 5: Let Everything Dry and Check the Result
- 8Common Mistakes
- 9Why one AirPod sounds quieter or muffled
- 10Hydrogen peroxide and other popular but harmful shortcuts
- 11Model differences that change the method
- 12Frequently Asked Questions
- 13Can I use alcohol to clean AirPods without damaging them?
- 14Is it safe to wash AirPods with water?
- 15How do you remove stubborn earwax from an AirPod speaker grille?
- 16Can I clean the AirPods charging case with a wet cloth?
- 17What should I do if my AirPods get wet while cleaning?
- 18How often should I clean my AirPods?
- 19Conclusion
What You Need
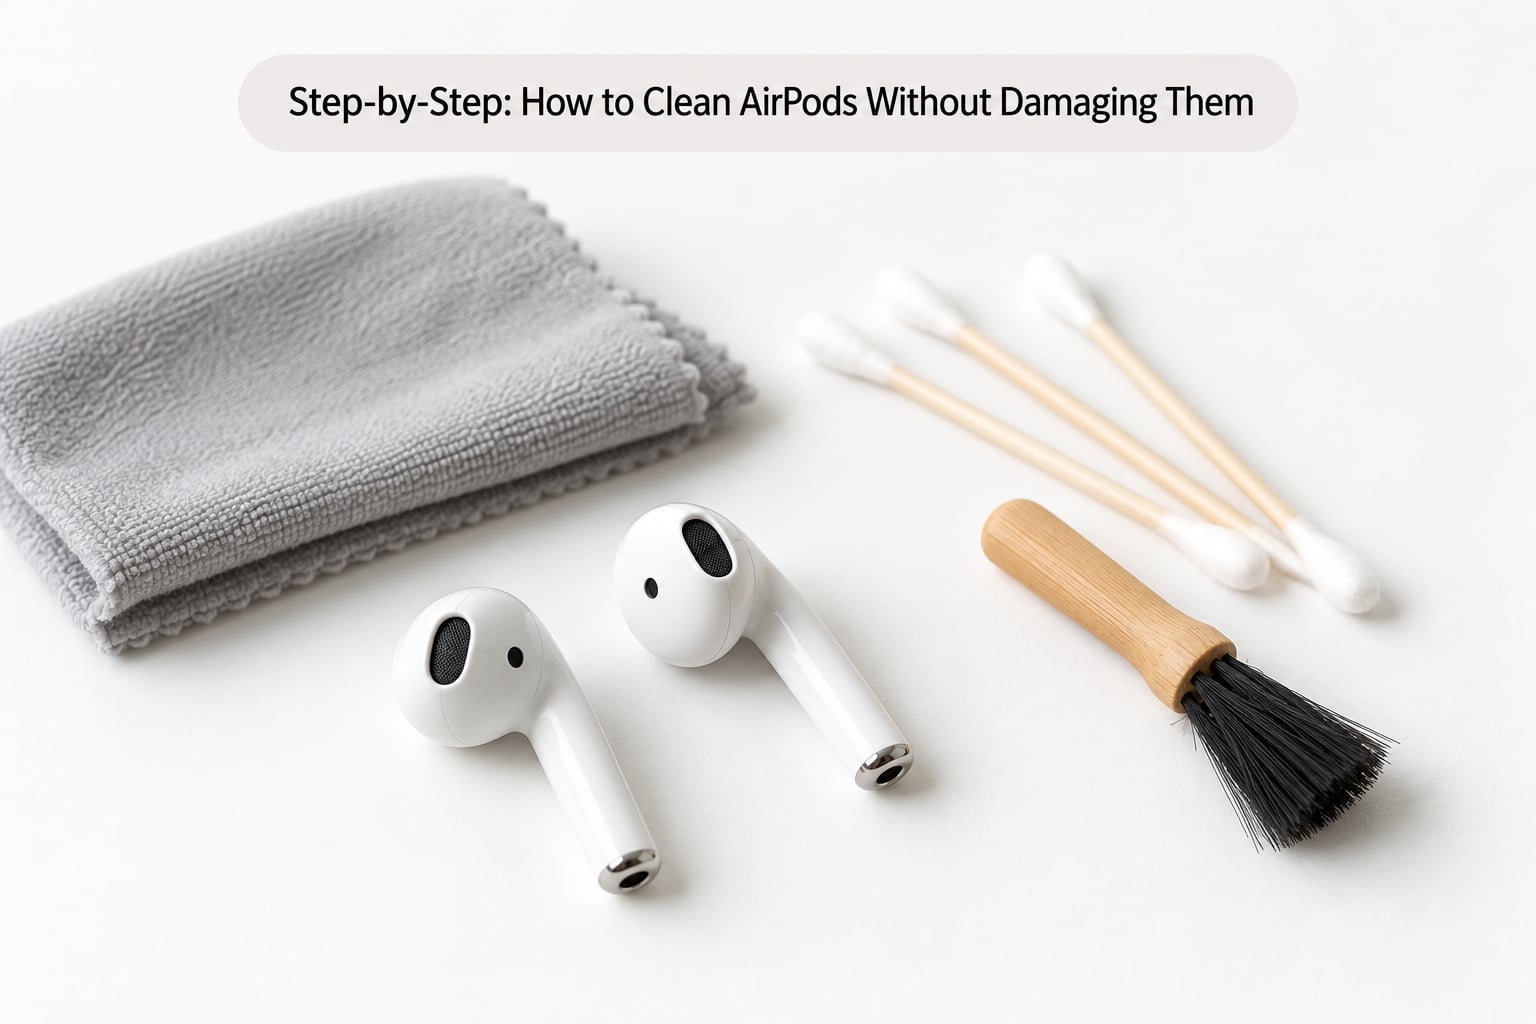
You can do a full clean with things already in a bathroom drawer. A dedicated AirPods cleaning kit is nice, not necessary.
| Item | What it is for |
|---|---|
| Microfiber or lint-free cloth | Wiping the glossy earbud shells and the outside of the case |
| Soft-bristled toothbrush | Lifting wax and dust off the speaker mesh and microphone grilles |
| Micellar water | The damp agent for mesh brushing; loosens wax without leaving a residue |
| Cotton swabs | Dry cleaning of the case interior and the charging wells |
| Wooden toothpick or antistatic brush | Lifting lint from the charging port without scratching it |
| 70% isopropyl alcohol | Dissolving stubborn wax on the case exterior and shell edges only |
| Bright light and a magnifier | Seeing what is actually blocking the mesh before you touch it |
Here is what to keep away from the earbuds entirely: water under a tap or in a bowl, hydrogen peroxide, bleach, household sprays, glass cleaner, compressed air, metal picks or sewing needles, and any abrasive pad. Dish soap and detergent are fine on detachable silicone ear tips and nowhere else.
Set up somewhere bright and uncluttered before you start. A USB light or a desk lamp pointed at the earbud makes the difference between lifting a wax edge and shoving it three millimetres deeper into the mesh.
Step-by-Step: How to Clean AirPods Without Damaging Them
Step 1: Remove the AirPods and Check for Existing Damage
Put playback on pause, open the case lid and take both earbuds out. Before you touch a cloth, look at each earbud under good light and note anything already broken, cracked or missing a tip of silicone.
That thirty-second check matters because it tells you what you are dealing with. A dull speaker grille is usually wax. A grille with a visible rip or a bent black mesh is damage, and no amount of cleaning will fix it.
Take a quick photo on your phone if the earbud already sounds off. It is the easiest way to tell later whether a cleaning job improved things or whether you are chasing a hardware fault.
Step 2: Wipe the Earbud Surfaces
Take a dry microfiber cloth and wipe the glossy outer face of each earbud, then the inner face around the sensor and the flat top. For visible grime, go over the same areas with the cloth barely dampened, not wet.
Work around the openings rather than across them. Hold the earbud so the speaker mesh faces down and away from the cloth, so any moisture is pushed away from the grille instead of into it.
Then blot the earbud immediately with a dry section of cloth. You want the plastic free of visible moisture before it goes anywhere near the charging contacts.
Step 3: Clean the Speaker Grilles and Microphones Carefully
Hold the earbud with the speaker mesh facing up so nothing falls out. Dip a soft-bristled toothbrush in micellar water, tap off the excess, and brush gently in small circles across the mesh for about fifteen seconds.
Blot the grille dry with a lint-free cloth, then repeat the whole cycle up to three times total. Rinse the toothbrush head with distilled water between passes so you are not redepositing loosened wax back onto the mesh.
The same gentle brushing works on the microphone ports and the small pressure vents. Hold the brush at a shallow angle and treat each opening as a separate job, because that is where people tend to be too rough.
For a hardened edge of wax sitting proud of the grille, a wooden toothpick or a cotton swab can lift it free. Work from the outside inward, lift rather than push, and never insert anything deep enough to reach the mesh behind it.
Users on r/airpods and the Apple Discussions boards describe the same moment of hesitation: the mesh is the one part you cannot see, and it is the one part you cannot replace. A magnifying glass or a phone camera zoom is the best answer to that fear, because you stop guessing at what you are touching.
Step 4: Clean the Charging Case
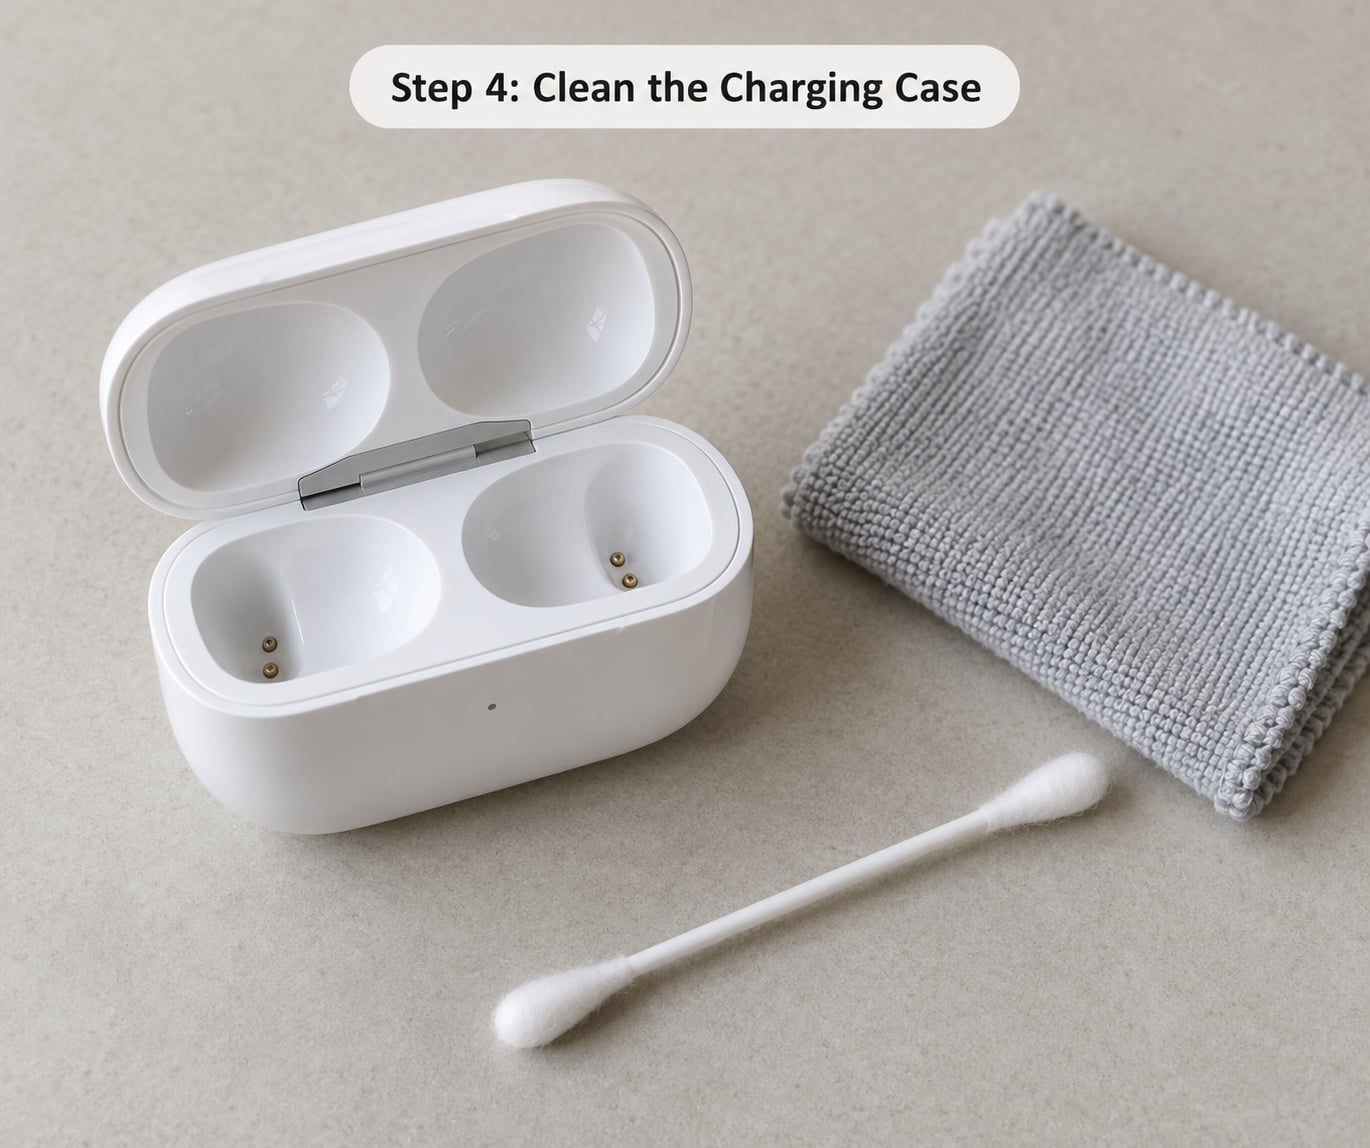
Clean the case in two halves: damp work outside, dry work inside. Wipe the lid, the sides and the base with a cloth barely dampened with water or 70% isopropyl alcohol, then dry it with a separate cloth.
Inside, stay dry. Run a dry cotton swab around the charging wells, the hinge and the inner lid, picking up lint rather than scrubbing at it. A slightly damp swab is tolerated on the plastic walls, never in the wells or on the gold charging pins.
For the charging port, a dry toothpick or an antistatic brush lifts pocket lint. Bend the toothpick slightly so you are using the curve, not the point, and keep the tip at the mouth of the port. Bent charging pins are the case equivalent of a torn mesh, and they come from exactly this kind of enthusiastic digging.
If there is a sticky stain on the case exterior, alcohol on a cotton swab will shift it. Keep the swab away from the open lid, and treat any liquid around the port as something to blot off immediately rather than let sit.
Step 5: Let Everything Dry and Check the Result
Leave the earbuds and the open case in a dry, ventilated spot for at least two hours before you wear them or close the lid. Air-drying is the whole point of the step, not a formality.
Two hours is the floor, not a target. If you used micellar water on a grille, I give it longer. Warm moving air speeds it up, so sitting near a fan is better than a shelf, but never a hairdryer or a heat source held close enough to warm the plastic.
When everything is dry, seat an earbud in the case and check that it charges, then wear both and play something with a wide frequency range. If the sound comes back full and even, the job worked. If one side is still quiet, the mesh is blocked deeper or damaged.
Common Mistakes
Most AirPods damage comes from cleaning too enthusiastically rather than too little. These are the approaches that show up again and again, and what to do instead.
- Soaking the earbuds or the case. Liquid reaches the drivers and the microphones and rarely fully dries. AirPods are not rated for immersion. Correction: no liquids, only a barely damp cloth and a micellar-dampened brush.
- Spraying cleaner directly onto the earbud. A spray hits the mesh and vents as a direct flood. Correction: spray or wet the cloth, then wipe.
- Using metal picks, needles or tweezers. These score the plastic, tear the acoustic mesh and can short a contact. Correction: wooden toothpick or plastic pick, lifted not pushed.
- Pushing wax deeper. A cotton swab driven into the grille compacts the wax and drives it against the mesh. Correction: brush the mesh face-up, then lift edge wax outward.
- Using compressed air. It drives debris further into the openings and can damage the drivers. Correction: a soft brush, applied gently.
- Cleaning while powered or charging. Correction: pause playback, take the earbuds out of the case, and give everything time to cool and dry.
- Putting damp AirPods back in the case. Trapped moisture causes a not-charging fault and possible corrosion on the contacts, and users regularly mistake it for a dead battery. Correction: a minimum of two hours open and dry.
| Safe to use | Never to use |
|---|---|
| Dry or slightly damp microfiber cloth | Wet cloth squeezed over the case interior |
| Soft-bristled toothbrush with micellar water | Hydrogen peroxide or bleach |
| Dry cotton swab on case wells and vents | Compressed air |
| Wooden toothpick, used curved, on the port | Metal picks, needles, tweezers |
| 70% isopropyl alcohol on the case exterior only | Household sprays, glass cleaner, dish soap on the earbuds |
| Water and mild soap on detachable silicone tips | Soaking the tips for long periods |
Why one AirPod sounds quieter or muffled
Blocked mesh, not a failed driver, is the usual explanation. A partially blocked grille filters high frequencies first, so the AirPod sounds thin, distant or tinny, and one earbud often drops out before the other. Compare the two sides at the same volume; a genuine hardware failure tends to stay uneven at every volume, while a blockage can change as you rotate the earbud slightly in your ear.
If it is blockage, a careful mesh clean restores it. If the grille looks torn or bent, or sound is still uneven after three careful passes, cleaning has done all it can.
A bad microphone follows the same logic. Wipe the outer microphone ports with a dry cloth and brush them lightly, and if calls still sound distant to the other person, the port may be packed rather than faulty. Check the same symptom with the earbuds in a different room before assuming a microphone problem, because a poor Bluetooth connection produces nearly identical feedback.
Hydrogen peroxide and other popular but harmful shortcuts
Hydrogen peroxide comes up constantly in earbud cleaning threads, and it deserves a straight answer. It is a 3% solution designed to break down organic material, which is exactly why it is sold for wounds, and it will bubble its way into any micro-crack in the mesh and the seals behind it. A forum soak that leaves tips looking spotless is not evidence the earbud survived, only that the visible wax is gone.
Boiling water, vinegar, oil-based earwax removers and vacuuming wax out with a hose all fail the same test: every one of them puts liquid or suction into an opening that was designed to stay dry.
Model differences that change the method
Standard AirPods, the third generation, and AirPods 4 have fixed, non-detachable tips, so the whole clean happens on the earbud and its mesh. AirPods Pro detach their silicone ear tips, and that is the one part you can actually wash with mild soapy water, then dry fully before refitting. AirPods Max are the odd ones out: the mesh ear cups can be unscrewed and cleaned like any other mesh, the headband and Digital Crown take a dry microfiber cloth, and the memory foam cushions are wiped rather than washed.
Yellowing tips are normal over time, and it is mostly the material ageing and picking up skin oils, not dirt you failed to remove. Gentle washing slows it, but a badly yellowed tip that has gone stiff or flaky is a replacement job rather than a cleaning one, and aftermarket tips rarely seal the same way the original ones do.
A useful routine keeps most of this from happening. A weekly wipe of the shells and case exterior takes under a minute, and a deeper mesh clean every few weeks is plenty for everyday use. Do one after workouts, dusty commutes or any stretch where you sleep in them, since sweat and skin oil build faster than most people expect.
Frequently Asked Questions
Can I use alcohol to clean AirPods without damaging them?
Yes, within limits. A cloth or cotton swab lightly dampened with 70% isopropyl alcohol is fine for the glossy earbud shells and the outside of the charging case, and it dissolves wax quickly. Keep it off the speaker mesh, off the microphone ports and out of the case interior, and never spray liquid directly onto an earbud. The mesh itself is cleaned with a soft-bristled toothbrush and micellar water instead.
Is it safe to wash AirPods with water?
No. AirPods are not built for immersion, and running water over them can force moisture past the mesh into the drivers and microphones, where it rarely dries completely. Water is acceptable on detachable silicone ear tips and on a damp cloth, never sprayed or poured onto an earbud or into the case. If an AirPod does get wet, leave it open and air-dry for at least two hours before use or charging.
How do you remove stubborn earwax from an AirPod speaker grille?
Hold the earbud with the mesh facing up, then work wax off with a soft-bristled toothbrush dampened in micellar water, using small circles for about fifteen seconds at a time. Blot with a lint-free cloth and repeat up to three times. A wooden toothpick or cotton swab can lift a hardened edge, but only from the outside inward, lifting rather than pushing wax deeper into the opening.
Can I clean the AirPods charging case with a wet cloth?
A slightly damp cloth is fine for the outside of the case, including around the charging port, as long as no liquid pools in the port or the open lid. The inside must stay dry: use a dry cotton swab or soft dry brush on the charging wells, and a dry toothpick or antistatic brush to lift lint from the connector. Let the case air-dry fully before closing it.
What should I do if my AirPods get wet while cleaning?
Do not put them back in the case and do not charge them. Shake out loose water, blot the earbuds and the case with a dry lint-free cloth, and leave everything open and separated in a dry ventilated place for at least two hours. Charging a damp AirPod can trigger a not-charging fault that people then misdiagnose as a dead battery. Never use a hairdryer or other direct heat.
How often should I clean my AirPods?
A quick wipe of the earbud shells and the case exterior once a week is enough for most people. Give the speaker mesh a deeper clean every few weeks if you wear them daily, and always clean after workouts, commutes or dusty conditions, where sweat and skin oils build up fast. Cleaning more often than that rarely helps and raises the odds of scuffing the finish or catching the mesh.
Conclusion
Start with the safe basics: dry-brush the speaker mesh with a soft-bristled toothbrush dampened in micellar water, wipe the earbud shells and the outside of the case with a slightly damp microfiber cloth, and keep every liquid, sharp tool and spray away from the openings. Then let it all air-dry for at least two hours before you wear or recharge anything.
If sound stays muffled or one side stays quiet after a careful clean, the grille is probably damaged rather than blocked, and that is an Apple service visit, not something to fix with a sharper tool.