To set up Medical ID on iPhone, open the Health app, tap your profile picture in the top-right corner, tap Medical ID, then choose Get Started or Edit. Fill in your details, turn on Show When Locked, and tap Done. Your information then sits on the Lock Screen where anyone can read it without your passcode. It takes about three minutes.
I set mine up years after buying the phone, right after a friend had a seizure on a run. That is the most common story in the forums I read before writing this: people discover Medical ID after a scare, not before one. Which is a shame, because the whole thing is a three-minute job that sits there quietly doing its job.
This guide covers the current iOS menu path, including the newer Health Details wording, plus what to actually type into each field, how to do it for a child or an elderly parent, and what happens if Medical ID does not show up. Menu labels shift a little between iOS releases, so I note where the paths differ.
Table of Contents
What You Need
That is the honest list: an iPhone running a recent iOS and about three minutes. The Health app ships with every iPhone, so there is nothing to download and no third-party app involved.
A few optional things make the job better rather than possible:
- Your Apple Account password. Health data lives behind your passcode and syncs through your Apple Account, so you may be asked to authenticate before editing sensitive fields.
- Emergency contacts already saved in Contacts with a name and phone number. You cannot invent a contact inside Medical ID; the picker only offers people who already exist in your Contacts list.
- Accurate medication and allergy details. Write the name on the prescription label rather than how you describe it. Ask your doctor or pharmacist if you are unsure, and do not guess at dosages.
- A decision about visibility. Show When Locked and Share During Emergency Call are the two toggles that decide whether anyone sees the data. Both are worth understanding before you tap them.
A paper backup still makes sense. A card in your wallet or a note in your car takes five minutes and covers the case where your phone is dead, out of charge, or somewhere you left it.
Step-by-Step: Set Up Medical ID on iPhone
Step 1: Open the Health App
Find the Health app on your Home Screen or in App Library. It is the white icon with a red heart. Tap it and you land on the Summary tab by default.
If you have never used Health before, Apple may show a getting-started screen the first time you open it. Swipe through it and tap Continue or Done, and the Summary tab appears.
Step 2: Find and Start Medical ID Setup
Tap your profile picture or initials in the top-right corner of the Summary tab. A list of health data categories opens, including Medical ID and Blood Type.
Tap Medical ID. If you have never created one, the screen shows a Get Started button. If you set one up years ago and left it half-empty, you get Edit instead. Both take you to the same editable record.
On iOS 18 and later you may see some of this data grouped under Health Details. The Medical ID entry point has not moved.
Step 3: Add Your Medical Information
Tap Get Started, and the Medical ID editing screen opens. Work through the fields in any order. There is no save button on this screen, so Apple captures changes as you type.
- First and last name, date of birth — used to confirm you are the person the phone belongs to.
- Medical conditions — epilepsy, diabetes, asthma, or anything a medic would need to know in ten seconds. Multiple entries are allowed.
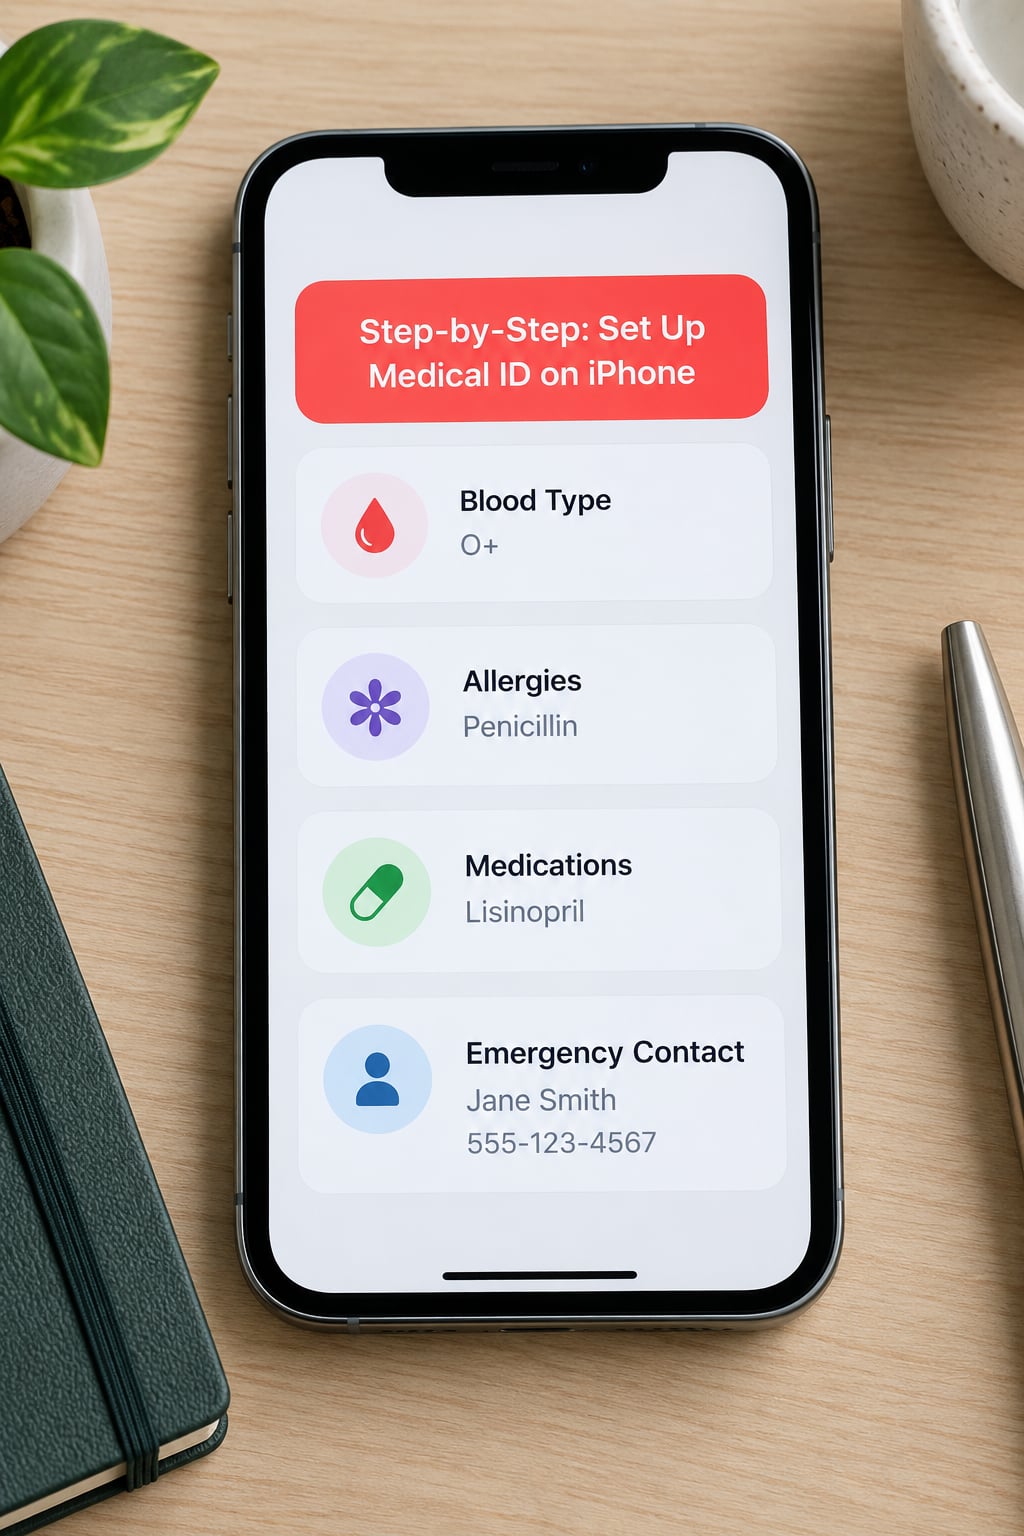
- Medications — including prescriptions, over-the-counter drugs and the name and dose as printed on the label. This field is short, so add the essentials, not a full pharmacy history.
- Allergies and reactions — pair the substance with the reaction, such as penicillin and hives. That pairing is far more useful than a bare list.
- Blood type — only if you actually know it. Leave it blank rather than guessing.
- Height and weight — used for emergency dosing calculations.
- Organ donor status — set from your donor registration.
- Primary language — helpful if you are unresponsive and a responder needs an interpreter.
- Notes — implants, a brace, a pacemaker, a seizure alert bracelet, or the name of the rescue medication that lives in a fridge.
Enter only what is accurate. A wrong allergy listed as a fact can cost a medic time, and this screen is medical information rather than a notes field, so take a minute with a pharmacist’s label in front of you if you are unsure.
Step 4: Add Emergency Contacts
Scroll to Emergency Contacts and tap Add Emergency Contact. The Contacts list opens. Pick a person, tap Done, then choose a relationship label such as Parent, Sibling or Friend from the menu.
Pick people who can actually respond, and who can give a medic useful context. A partner who knows your conditions beats a cousin who does not.
One correction worth making early: iPhone does not call these people. Adding someone as an emergency contact does not notify them, and it does not alert them when Medical ID is viewed or shared. Their name and number are displayed to whoever reads the screen.
Step 5: Choose What Responders Can See
Near the bottom of the Medical ID screen you will find Show When Locked and, on current versions, Share During Emergency Call. Toggle them on.
Show When Locked puts your details on the Lock Screen itself. Without it, your Medical ID is invisible during a real emergency, because nobody is going to unlock your phone and dig through Health. This is the single most missed step, and the reason many people believe the feature does not work.
Share During Emergency Call sends your Medical ID to the dispatcher when you place an emergency call, so it arrives before you are even connected. It only applies to Emergency SOS calls, not to ordinary calls you place yourself.
There is a real tradeoff and it is worth stating plainly. Anyone holding your phone can read the Lock Screen information without your passcode. If a condition is sensitive, weigh that against the reason you want the feature on in the first place.
Step 6: Save and Test Your Medical ID
Tap Done in the top-right corner. That is the whole save action; there is no separate confirm prompt.
Now test it the way a responder would:
- Press the side button to wake the phone.
- Tap Emergency in the bottom-left corner of the Lock Screen.
- Tap Medical ID on the Emergency screen.
No passcode, no Face ID, no Touch ID. Your details appear.
The Emergency control has changed shape more than once. On older iPhones it was a swipe up followed by an Emergency button, iPhone 11-era models use a slider, and recent models show a persistent Emergency button in the bottom-left corner of the Lock Screen. If you followed a tutorial and could not find the control, the tutorial is probably describing a different model.
There is a faster route than opening the app: press and hold the Health app icon on the Home Screen and tap Medical ID.
Update the record whenever a medication, allergy, condition or contact changes, and give it a look twice a year even when nothing has happened.
Common Mistakes and Privacy Tips
The most common mistakes
Leaving Show When Locked off. This is the big one. Your Medical ID exists, it just never appears where it matters. Turn the toggle on, then walk through the Lock Screen test above.
Emergency contacts who are not in Contacts. You cannot type a new name into Medical ID. Save the person in Contacts with a phone number first, then add them.
Outdated medication and contact details. People set this up once and forget it. A medication you stopped taking five years ago still sits in the field, and a contact who moved or died is worse than no contact at all.
Unfamiliar or vague wording. A note reading my usual thing tells a medic nothing. Write insulin-dependent, or pacemaker fitted 2019. Plain, specific wording is what gets acted on.
Treating Medical ID as medical care. It is a reference card, not treatment. It does not replace a medical alert bracelet, a paper card in your wallet, or telling the people around you about a serious condition.
No passcode. A Medical ID only stays readable when locked if the phone is locked. Set a passcode in Settings, Face ID and Passcode. A six-digit passcode is the floor.
Privacy, and setting it up for someone else
Two facts to hold onto. First, emergency contacts are not notified and are not called when the Medical ID is viewed or shared. Second, anyone who picks up your unlocked phone can read everything on it, including the Notes field.
Parents ask this more than anyone else, so here is the practical version. You can create a Medical ID on a child’s phone or on an elderly parent’s phone: open Health on that device, follow the steps above, and fill in their details. Contacts added must exist on that phone, so sync or enter the family contacts there first. Once Show When Locked is on, the record is readable by a responder even though the owner never unlocks the phone.
Keep the paper backup in the same place you keep their medication list. It costs nothing and covers a dead battery.
For anything you are unsure about medically, your doctor, pharmacist or the Joint Commission’s guidance on emergency medical information is the right place to check before you type it in. This article covers the phone steps, not clinical decisions.
Frequently Asked Questions
Should you set up a Medical ID on an iPhone?
Almost certainly yes. In a medical emergency a paramedic may need your allergies, blood type or medications within seconds, and your phone is probably locked. Medical ID makes that information readable without the passcode, and Share During Emergency Call can pass it to the dispatcher automatically. It takes about three minutes and nobody is notified when it is viewed. Keep a paper card as a backup.
How do I view Medical ID when my iPhone is locked?
Wake the phone and tap Emergency in the bottom-left corner of the Lock Screen, then tap Medical ID. No passcode, Face ID or Touch ID is required. On some older iPhones you swipe up to reach the same screen. If Emergency is not there, check that you are on the Lock Screen and not in an app.
Do paramedics actually check iPhone Medical ID?
Yes, it is one of the first things many responders look for, because they are trained that phones carry it. The whole point is that they can read your details in seconds without unlocking your device. It works when the phone is powered on and the screen is intact. If the phone is dead, water damaged or missing, a paper card or medical bracelet is the backup that still works.
Are my emergency contacts notified when my Medical ID is shared?
No. iPhone never calls or messages them. Their name, relationship and phone number are simply displayed to whoever reads the Medical ID, and Share During Emergency Call passes the information to the dispatcher, not to your contacts. Tell the people you list that they are on there, so they are not surprised if they get a call from a hospital.
How do I edit or delete a Medical ID on iPhone?
Open Health, tap your profile picture in the top-right, tap Medical ID, then tap Edit. Change any field and tap Done. To remove it, scroll to the bottom of the editing screen and tap Delete Medical ID, then confirm. Deleting removes the record from this iPhone and your synced devices, and clears the Lock Screen entry.
Conclusion
Start now, not later. Open Health, tap your profile picture, tap Medical ID and choose Get Started. Fill in the essentials: conditions, medications with allergies and their reactions, blood type if you know it, and one or two contacts who are already saved on the phone.
Then turn on Show When Locked, add Share During Emergency Call if you want the dispatcher to receive it, tap Done, and test the route from a locked screen straight away. Set a passcode if you have not already, keep a paper card in your wallet, and give the record a two-minute review every six months.
If you are setting this up for a child or a parent, do it the next time you are at their kitchen table. It is the kind of task that gets postponed for years.