FileVault is Apple’s built-in full-disk encryption, and it uses the XTS-AES-128 algorithm with a 256-bit key to protect everything on your startup disk. Turning it on takes about five minutes of clicking through System Settings, then the Mac encrypts in the background while you keep working. Here is how to use FileVault to encrypt a Mac the safe way, including where the recovery key goes and what happens if you ever need it.
One thing to clear up first: FileVault is not a backup. It stops anyone who has your Mac, or your bare drive, from reading the files on it. It does nothing to restore a deleted document.
Table of Contents
What You Need
Four things, and none of them are optional if you want to avoid a bad afternoon.
An administrator account. FileVault sits behind an admin password, so a standard account will find the setting greyed out. If the only admin account is the one you use daily, add a second admin account first and leave it as your fallback.
Power. Plug the Mac in. Encryption pauses on battery and resumes on power, and a half-finished encryption is more annoying than a finished one.
A backup you have actually tested. Time Machine to a separate drive is the easy option. Any other method works as long as it can restore files, not just run a sync.
A place for the recovery key. Paper in a safe, or a password manager entry that syncs somewhere other than the Mac. Not a note in the same iCloud account, and not a photo on the encrypted drive itself.
Get these wrong and the outcome is bad. Lose the admin password and the recovery key at the same time, and the data on the drive is gone. There is no back door, no Apple support override, no reset link. That is not a scare tactic, it is just how volume encryption works.
Step-by-Step: How to Use FileVault to Encrypt a Mac
Back Up Your Mac Before You Start
Run a full backup and confirm it finished, rather than assuming it did. Open Time Machine and look at the most recent backup date in the menu bar, or check the drive directly.
Why bother? Because enabling FileVault touches every file on the startup volume. Reports of trouble after enabling it exist, and a small handful of users on Reddit and Apple Stack Exchange describe corrupted or missing data. Most of those cases were on older Intel machines, but a backup costs you an evening and saves you from the argument entirely.
If you have never set Time Machine up, this is a good afternoon to do it. A drive encryption and a full backup in one session is fine. Do not turn FileVault on during a large macOS update, either; finish the update, confirm everything works, then encrypt.
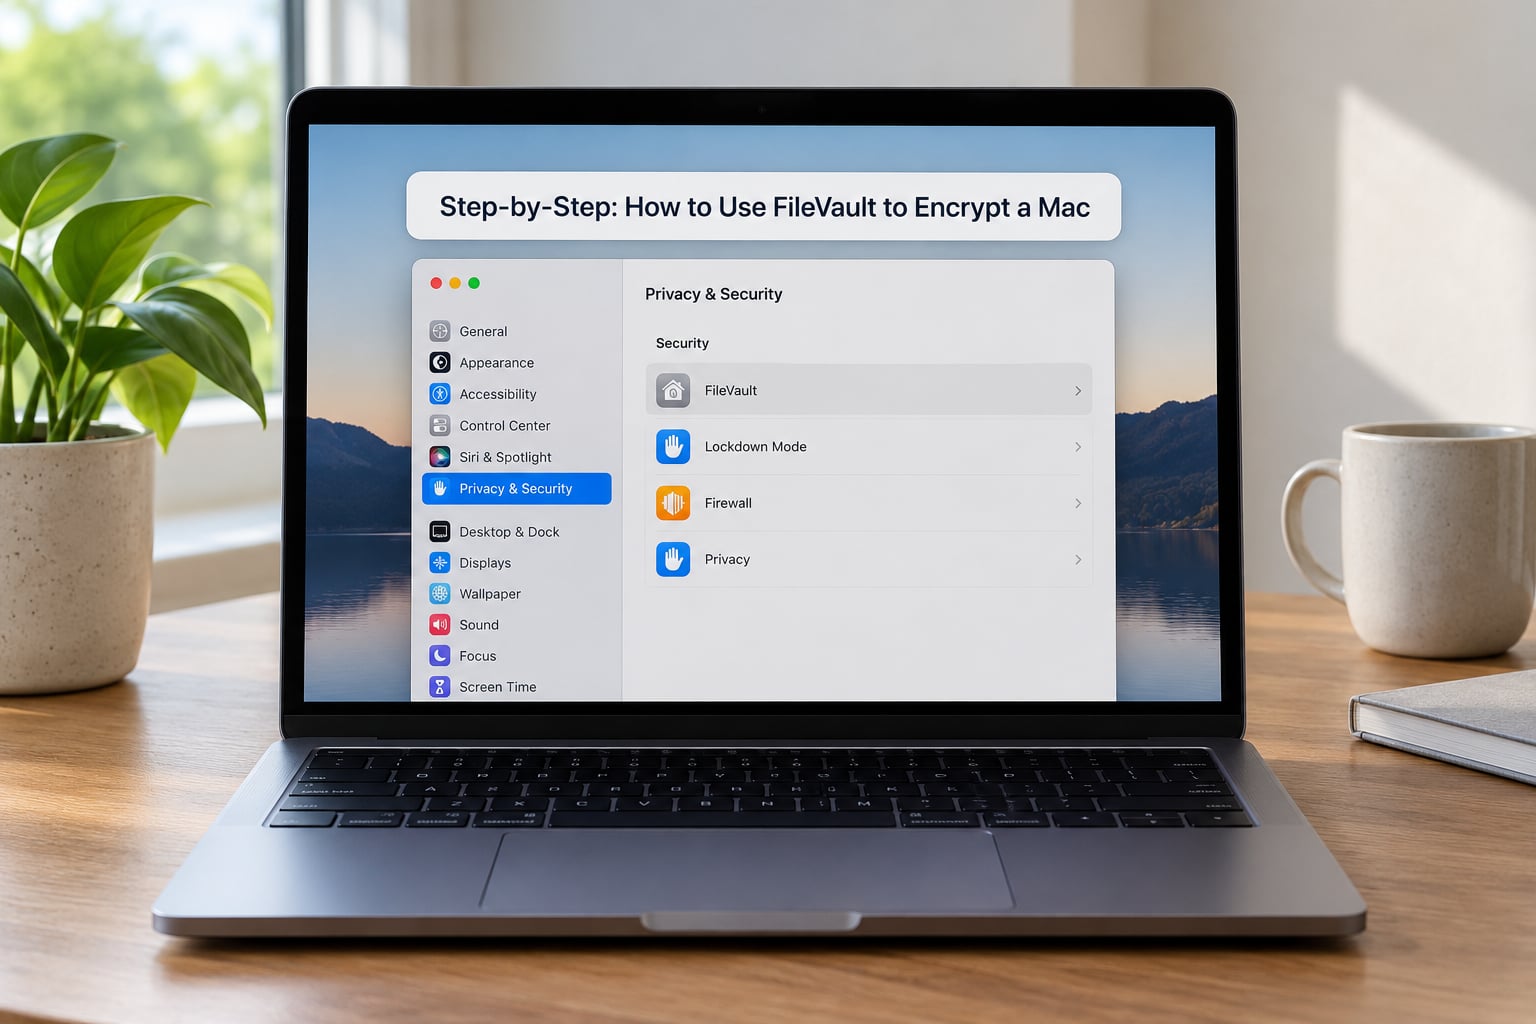
Open FileVault in System Settings
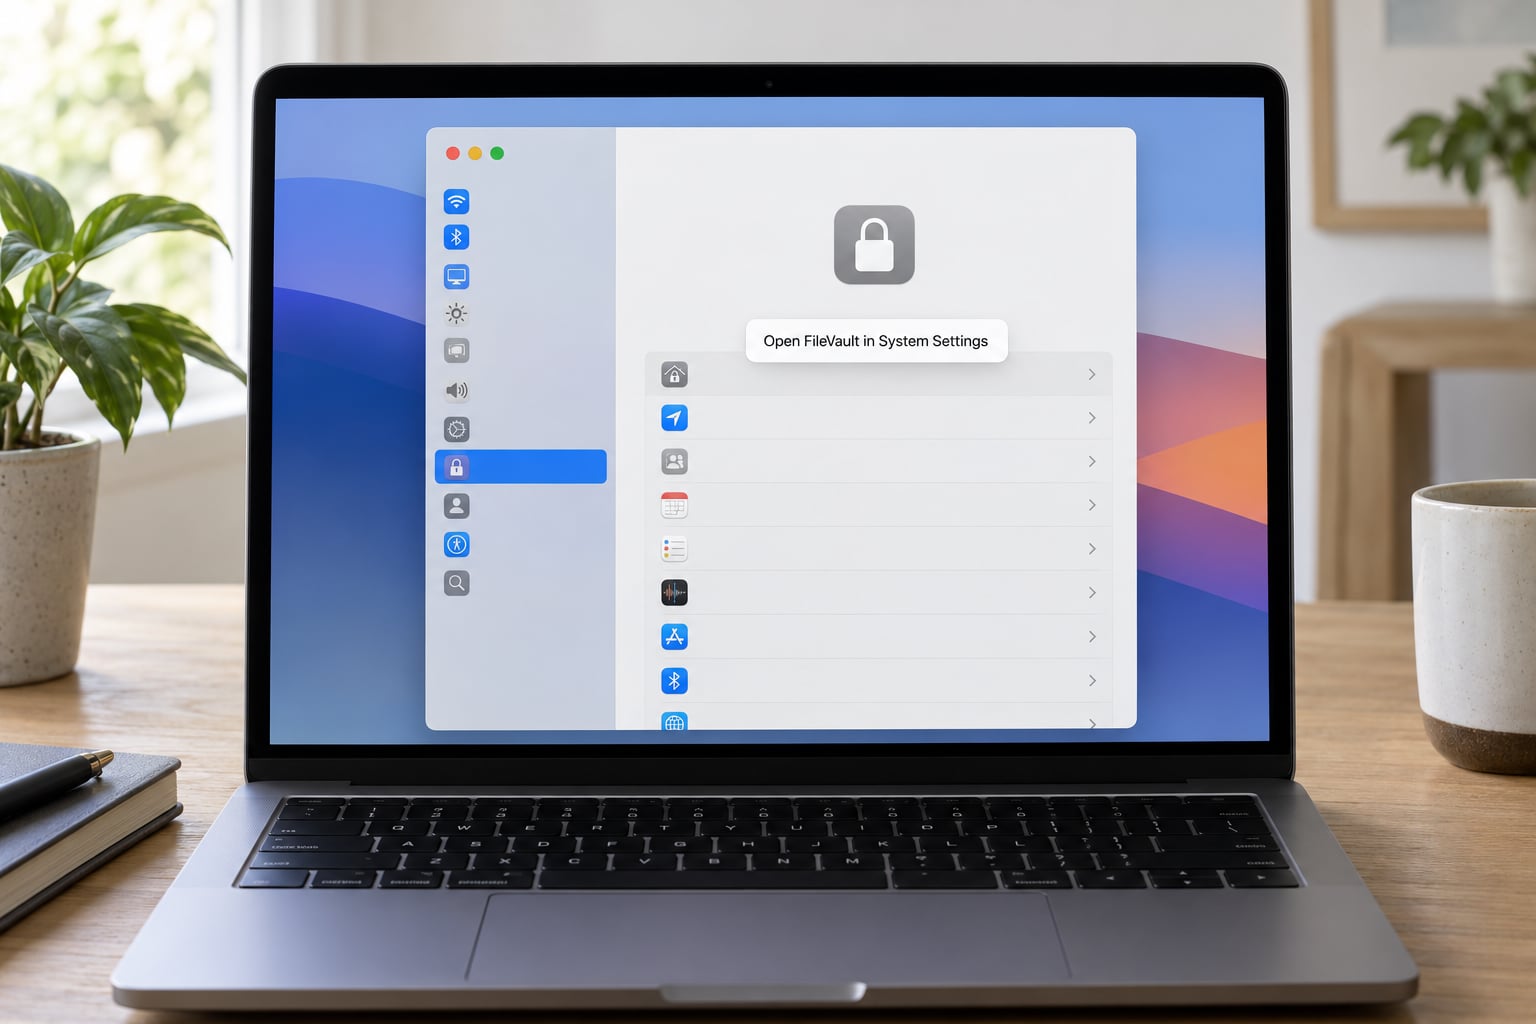
On current macOS versions, the path is Apple menu, then System Settings, then Privacy and Security in the sidebar, then scroll to the FileVault section near the bottom and click Turn On FileVault.
If your Mac runs macOS Monterey or earlier, the older path still applies: Apple menu, System Preferences, Security and Privacy, then the FileVault tab. Most guides online still show that older screen, which is why so many people go looking for a button that is not there.
On a Mac bought new, FileVault may already be on. The panel will say FileVault is on and describe the disk as encrypted. If it says on, skip the rest of this guide and go straight to the section on where to find your recovery key.
Choose How Your Mac Decrypts at Startup
macOS asks how it should unlock the disk when it starts, and the two options work very differently.
Allow the account to unlock the disk. macOS stores a key escrow record with Apple, tied to your Apple Account and the hardware. When the Mac boots, you type your login password and the disk unlocks without any extra step. This is what almost everyone should pick, and it is the only option on Apple silicon Macs.
Use a recovery key instead. Your account password no longer unlocks the disk at startup. You type a long recovery key on the FileVault login screen, then log in normally afterwards. More typing, and the whole point of it is that Apple holds no copy of anything, which is why some regulated workplaces and privacy-focused users require it.
If you have a second admin account, macOS lists it here and you can authorise it too. Grant access only to accounts you control. An account you cannot log into as the owner is a recovery key you never stored.
Store the Recovery Key Safely
The recovery key is a 24-character group of letters and numbers in sets of six, displayed with hyphens. It unlocks the disk when the account unlock method fails, and without it the data is unreadable.
Copy it before you click anything else. The panel offers a Copy button, and you can reopen this screen later to view it again. If you chose the account unlock option, Apple also keeps a copy in iCloud Keychain, which means you can find it on your iPhone or iPad through the Passwords app. Many people have no idea that copy exists until they need it.
For your offline copy, print it and put it somewhere physically secure. A password manager works too, as long as it is not stored only in the iCloud Keychain entry that depends on the Mac being unlocked. That is circular: you need the Mac to get the key that gets you into the Mac.
Two things never to do with it: do not store it on the encrypted drive, and do not store it only in the same place as your other cloud files if your Apple Account is the thing that might be compromised.
Let FileVault Finish Encrypting
Once you confirm, the Mac restarts and shows a progress bar with a time estimate. The estimate is optimistic, so treat it loosely. The Mac stays usable during this, and you can keep working, though heavy tasks will feel slower until it finishes.
Expect anywhere from an hour on a small fast SSD to a day or more on a large older drive with a spinning disk. Keep the Mac plugged in and let it sleep rather than shutting down. Shutting down partway is not dangerous, since the process resumes on the next boot, but it does restart the clock.
You do not need to sit and watch it. The panel shows the percentage whenever you check back, and it keeps the status line under FileVault until encryption completes and changes to FileVault is on.
Verify That FileVault Is On
Return to Apple menu, System Settings, Privacy and Security. The FileVault section should now read that FileVault is on. That is enough for a casual check.
For a firmer answer, open Terminal from Applications, Utilities and run fdesetup status. It prints whether FileVault is on or off along with the encryption percentage. On Apple silicon, diskutil apfs listCryptoUsers / also shows the user authorised to unlock the volume.
To test it properly, restart the Mac. On a Mac using the account unlock method, you will see your normal login window and the drive is already readable. On one using the recovery key method, you get a separate FileVault screen asking for that key before macOS even loads. That screen appearing is proof the encryption is doing its job.
Do this test while you are at the Mac with your recovery key in hand, not while it is in a bag at the bottom of a flight. If something is wrong, you want to discover it in your hallway rather than at an airport.
Common Mistakes
Losing the recovery key. The most common way people get into trouble. Save it offline, in more than one place, before you finish the setup. If you lose it after the fact and the account unlock method is active, you can reset it from another trusted device signed into your Apple Account, but that path is not available on every configuration.
Treating FileVault as a backup. Encryption protects the data. It does not protect against deletion, a failing drive, a bad update, or ransomware that runs while the disk is unlocked. You still need a separate backup, and on this site that goes without saying.
Starting on battery power. The process stalls, the estimate stops moving, and people assume encryption is broken. Plug it in and reopen the panel to see the real status.
Following old menu paths. Guides written for System Preferences send you to a Security and Privacy pane that no longer exists in the same form. If you cannot find a FileVault row, check your macOS version first.
Expecting automatic login to keep working. A Mac with automatic login enabled cannot use FileVault in the usual way, because the disk has to be unlocked by a user before the login window appears. macOS usually offers to turn automatic login off when you enable FileVault; accept it, and enjoy the extra password prompt at boot.
Expecting FileVault to encrypt external drives automatically. It does not. External disks need their own encryption, either with the APFS encrypted format or with third-party software. More on that below.
One more worth knowing: cloning tools can copy an encrypted drive into a new volume that will not mount on another Mac, because the hardware UID differs. If you clone a FileVault drive, plan to decrypt or re-encrypt the copy rather than assuming it carries over.
Frequently Asked Questions
Does FileVault slow down a Mac?
On any Mac with an SSD and Apple silicon or a T2 chip, the effect is hard to notice, because modern hardware encrypts and decrypts as data moves. Users on Reddit and Apple Stack Exchange mostly report no perceptible change in day-to-day use. The noticeable cases are older Intel Macs with spinning hard drives, where encryption during the first pass can cut responsiveness noticeably. Boot time after a restart is usually one or two seconds slower than an unencrypted boot.
What happens if I lose my FileVault recovery key?
If the key is the only way in, the data cannot be recovered by Apple, a store, or a technician, and the drive would need to be erased. If you chose the account unlock option, macOS keeps a copy in iCloud Keychain and you can view or reset the recovery key from another trusted device signed into your Apple Account. The iPhone Passwords app is one way to view it. This is why storing a printed or password-manager copy matters.
Are new Macs already encrypted?
Many are. MacBook and Mac mini models with Apple silicon frequently ship with FileVault already turned on, enabled during setup when you signed in with an Apple Account. Check by opening Apple menu, System Settings, Privacy and Security and reading the FileVault section. If it says FileVault is on, there is nothing to enable, but you should still locate the recovery key and store a copy outside the Mac.
Can I encrypt an external drive with FileVault?
FileVault encrypts the startup disk only. External drives are handled through the filesystem instead, using the encrypted APFS format in Disk Utility, or third-party tools such as VeraCrypt for drives used on both Mac and Windows. Format the drive as APFS Encrypted, give it a password, and everything copied to it is protected at rest. Back up the drive contents before you erase it for formatting.
How do I turn FileVault off again?
Open System Settings, Privacy and Security, then click Turn Off FileVault and authenticate. macOS decrypts the drive in the background, which on a large SSD takes a few hours and on an older hard drive can take considerably longer. You can keep using the Mac while it runs, but do not erase the drive or restart repeatedly. If your work is managed, the administrator’s policy may prevent turning it off at all.
Conclusion
Start with the boring part. Confirm a backup exists and that you can restore something from it, then make sure you know where the recovery key will live before you enable anything. After that, how to use FileVault to encrypt a Mac is a short trip through System Settings, Privacy and Security, and a decision about which unlock method fits you.
Leave the Mac plugged in until the encryption finishes, restart once while you are sitting at the keyboard to confirm the protection is real, and you are done. Most of the fear around FileVault comes from skipping the recovery key step, and that is the one part of this you can fix in five minutes.