Scanning a document with your iPhone camera takes about 30 seconds and needs no extra app. Open Notes or Files, tap the camera button, choose “Scan Documents”, drop the page into the yellow frame, and tap the shutter. iOS finds the edges, straightens the page and stacks every page into a single PDF you can save or send.
That is the whole trick. There is no subscription, no account, and no separate scanning app unless you want extras like password protection or automatic cloud upload. The feature has been built into iOS since version 11 and behaves the same on iPhone and iPad, which is why this guide covers the exact menu labels rather than vague descriptions.
Below is the full workflow, from opening the scanner to emailing a signed PDF, plus the fixes for the two complaints that come up most: dark pages and blurry text.
Table of Contents
What You Need
You need an iPhone or iPad running iOS 11 or later. Any model that can run a current iOS release has the scanner built in, and the menu paths below are written against current iOS versions. Older iOS 11-era interfaces move the icons around slightly, but the button labels stay the same.
Next, the document itself, laid flat, and a surface that contrasts with it. White paper on a dark table, or a pale receipt on a dark mat, gives the edge detection something to lock onto. White paper on a white table is the single most common reason a scan comes out badly cropped.
Lighting matters more than any setting inside the app. Indirect daylight from a window works well. A single overhead lamp creates a shadow from your own hand and a bright patch from glare, and the scanner reproduces both faithfully.
Optional extras:
- A second phone or a desk lamp to even out harsh light on glossy paper
- A pen or Apple Pencil if the document needs a signature
- The Control Centre shortcut, if you plan to scan often
Step-by-Step: How to Scan Documents with iPhone Camera
Open the iPhone Document Scanner
There are three routes into the scanner, and all of them are free.
In the Notes app, open a new note, tap the camera button in the toolbar at the bottom of the screen, then choose “Scan Documents”. In the Files app, tap the + button in the top corner, then choose “Scan Documents”. Scans made this way go straight into the Files app rather than into a note.
The third route is the fastest. Swipe down from the top-right corner to open Control Centre, press and hold an empty spot, tap “Edit”, and add “Scan Document” from the list. Once it is there, one swipe and one tap opens the scanner from any screen. On iOS versions that do not show the edit button, the same control lives under Settings, then Control Centre.
Any app that opens a system file picker, such as Pages or Mail when you attach a file, offers “Scan Documents” in that picker too.
Position the Document for a Clear Scan
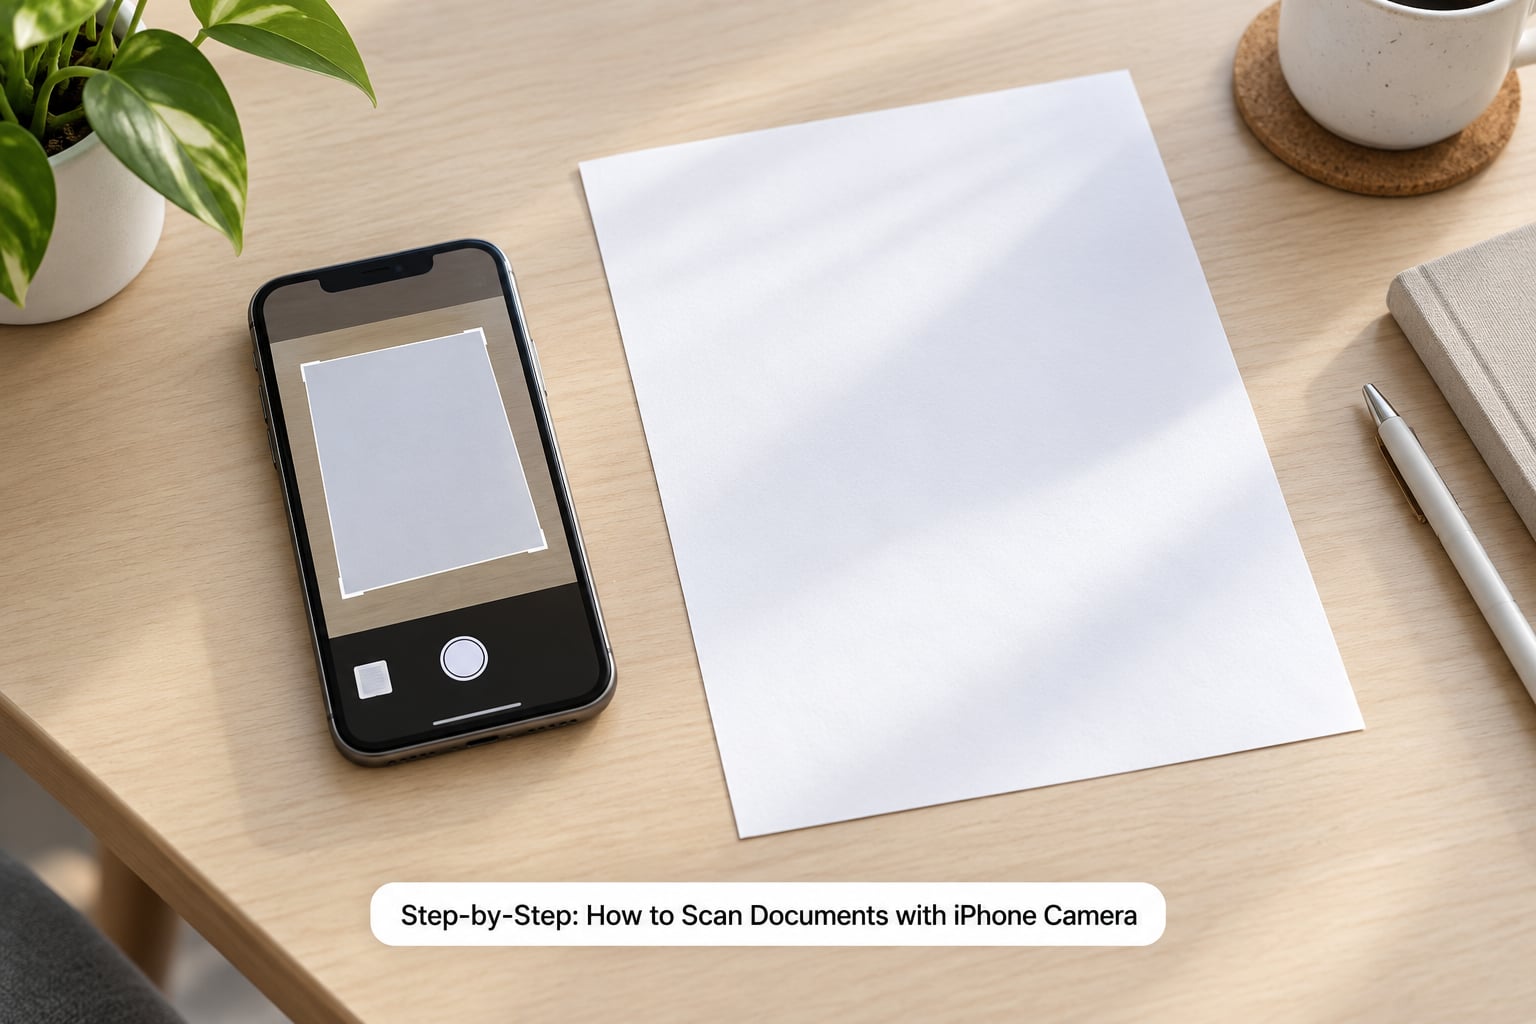
Lay the page on a flat surface and stand the phone directly above it, parallel to the paper. Holding the iPhone at an angle is what produces the keystoned, trapezoid look that straightening can only partly repair.
Slide the page until all four corners sit inside the yellow frame. The frame is a guide, not the capture area, but pages that start inside it get cleaner edge detection and less cropping later.
Move your hand and shoulders out of the frame before capturing. A shadow cast by your phone across the page is the number one cause of a dark or grey scan, and it is completely avoidable by tapping the shutter without a hand near the paper.
Capture the Page and Check the Result
Hold still for a moment. On recent iOS versions the scanner works in “Auto” mode and takes the shot by itself when the page is steady and in focus. Tap “Auto” in the bottom corner to switch to “Manual” mode, where the shutter button fires the capture, and either of the volume buttons does the same job.
When the shot is taken, iOS shows the page with four draggable corners and a “Keep Scan” button. Drag each corner onto the actual edge of the paper before you keep it. Worn receipts and torn or irregular documents are where automatic detection slips, and a few seconds of dragging is the difference between a full page and a cropped corner.
Tap “Keep Scan” and the page gets added to the scan session. Lift the phone, swap in the next sheet, and repeat. Every page lands in the same document, in the order you scanned them, so keep a mental track of the page order for anything longer than a few sheets.
Before you leave the review screen, check that the text is sharp and complete. Zoom in on one line of small print. If you cannot read it there, nobody reading the PDF later will manage it either.
Adjust Filters and Save the Scan
The review screen offers four filters. “Original” keeps the photo colours, “Greyscale” softens colour noise on photocopies, “Black & White” turns the page into a high-contrast document that is far smaller in file size, and “Colour” boosts faded ink.
Use “Black & White” for contracts, forms, receipts and anything with handwriting. Use “Original” for photographs, diagrams and anything with colour you need to keep.
Other controls on the same screen let you rotate a page, reorder pages, delete one you shot by accident, and mark it up. The markup tool is where signatures go: tap the signature icon, sign with your finger, an Apple Pencil, or a saved signature from Settings, then tap outside the box to place it. There is also a “Scan Highlights” filter that keeps a transparent layer of the markings you add.
Tap “Save” when you started from the Files app, which drops the PDF into On My iPhone or iCloud Drive, or “Done” when you started in Notes, which attaches the scan to the note. Both produce a PDF, not an image, and the pages are searchable, meaning you can search and select the text inside it later.
Share or Export the Finished Document
Every scan can be sent onward from the same screen. Tap the share button in the top corner to open the iOS Share Sheet, then pick the destination.
Choose “Save to Files” to file it into a folder, or a location under iCloud Drive if you want it on every device signed into the same Apple account. Choosing Mail opens a new message with the PDF already attached. A scan created with Continuity Camera can also be dropped straight onto a nearby Mac, which is useful when the document is going to a desktop for filing.
Two things worth knowing. Sending a scan through an app that compresses images, such as some messaging services, can soften small text, so attach the PDF rather than pasting a screenshot. And once the file is in Files, you can rename it and drop it into a new folder so a year of receipts does not end up in a single unnamed pile.
Common Mistakes and Quick Fixes
Most disappointing scans trace back to one of five things.
- Dark or grey pages: the scanner is faithfully reproducing a shadow. Move the phone, not the paper, until no shadow falls across the page, then capture with your hand clear of the frame. If the page is still dark, try the “Black & White” filter, which lifts the background to white.
- Blurry text: the phone moved during capture, or the page was too close to focus. Hold still for a second, rest the phone against something solid, and step back about a foot. Distance helps more than any filter will.
- Cropped edges: auto detection missed the border. Darken the surface under the page, or drag the corners manually before tapping “Keep Scan”.
- Skewed or trapezoid pages: the iPhone was tilted. Hold it parallel to the paper; on a desk, rest the bottom edge on the surface first, then lower the top.
- Glare on glossy or laminated paper: shift the light source so the reflection moves off the page, or tilt the paper a few degrees. Covering the page with a sheet of plain paper and scanning that is a surprisingly effective last resort.
Crumpled receipts are their own problem. Smooth them against a flat surface, or better, take a few overlapping photos in Auto mode and use the ones that read cleanly. Faded thermal paper is often cleaner with the “Greyscale” filter than in colour.
If “Scan Documents” is missing entirely, it is usually one of three things: you are in an app that does not support the system picker, you are on a device too old for the feature, or a restriction is active. Check Settings, then General, then Accessibility, where VoiceOver and Zoom settings have been reported to hide the option. Pulling down in the Files app and searching also surfaces the scanner directly.
One more option for a single reference number or a serial code: you do not need a scan at all. Point the camera at the text and pull down on the viewfinder to trigger Live Text, then copy the result.
Frequently Asked Questions
Can I use my iPhone camera to scan documents?
Yes, and you already have the software. The Scan Documents mode built into iOS detects the page edges, fixes the perspective, removes most shadows and saves the result as a PDF with searchable text. It costs nothing, works offline, and needs no account or subscription. Open Notes, tap the camera icon in the toolbar and choose Scan Documents.
When I scan a document, where does it go on my iPhone?
It depends which app you scanned from. A scan started in the Files app is saved as a PDF in On My iPhone or iCloud Drive as soon as you tap Save. A scan started in the Notes app is attached to that note when you tap Done, and stays there as part of the note. Either way you can find it again through the Files app or by searching inside Notes.
How do I scan multiple pages into one PDF on iPhone?
Keep scanning without closing the review screen. After you tap Keep Scan for the first page, the scanner stays open and asks for the next sheet. Scan every page in order, then tap Save in the Files app or Done in Notes. All the pages are stacked into a single PDF, and you can rotate, reorder or delete individual pages on the review screen before you finish.
Why are my scanned documents dark or blurry?
Dark scans are almost always shadows, usually cast by your own hand or phone, so capture with nothing between the light and the page. Blurry scans mean the phone moved or the page sat too close to focus; hold still, rest the phone on a firm surface, and step back. If the page still reads as grey, switch the filter to Black u0026amp; White.
Do I need a scanner app to scan documents on iPhone?
For most people, no. The built-in scanner handles receipts, contracts, worksheets and handwritten notes well, including OCR and multi-page PDFs. A third-party app such as Adobe Scan or a scanning-capable cloud drive earns its place only when you need password protection, watermarks, batch capture straight to cloud storage, or a specific export format. Those features are not in the native tools.
Conclusion
The reliable routine takes seconds: find a flat, contrasting surface, put the page in even light, open the scanner from Notes, Files or Control Centre, capture with your hand out of the frame, check the corners, and save the PDF. Do that once with a document you know well and the result is usually better than you expected from a phone camera. Only reach for a third-party app when you need features Apple does not build in, such as passwords or automatic cloud filing.