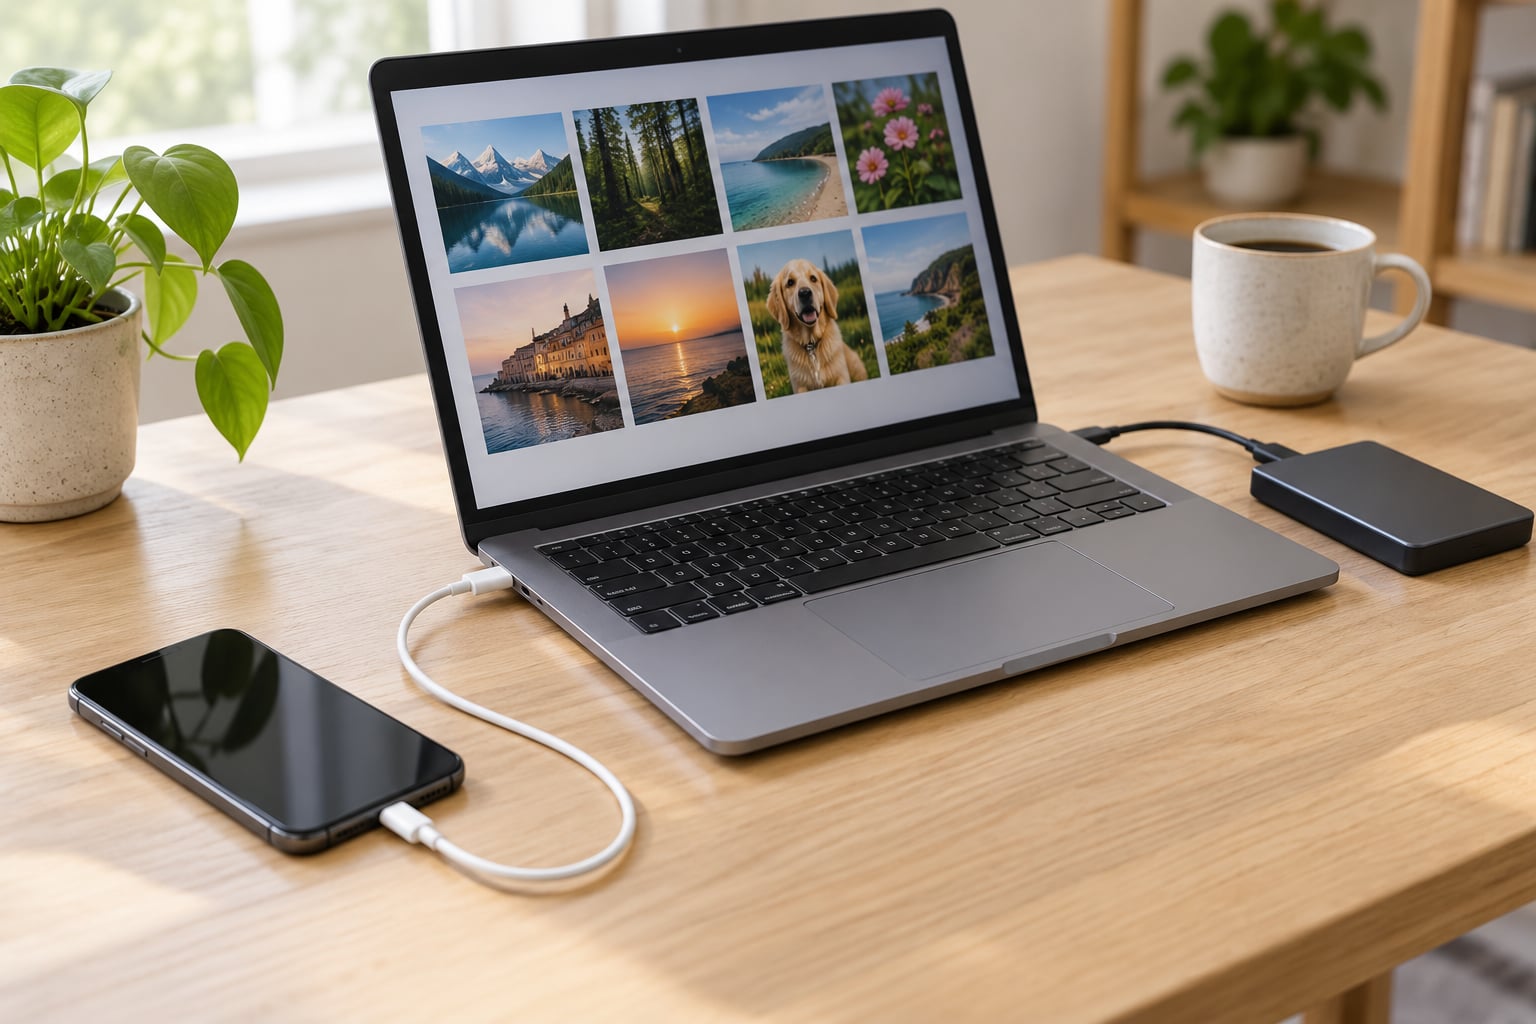
The fastest, most reliable way to transfer photos from iPhone to computer is a USB cable. Plug the phone into a Mac or PC, unlock it, tap Trust This Computer, then copy the files or run the import. A full library of 10,000 photos usually moves in under 30 minutes over USB 3, with no internet needed.
That is the answer for most people. The rest of this guide covers the wireless route through iCloud, what a Mac does differently, and what to do when the transfer stalls or only half your photos show up.
One thing to clear up first, because the three words get mixed up constantly: a transfer copies photos off the phone and leaves them on the phone. A backup is a safety copy, usually to iCloud. A sync keeps two libraries mirrored, and enabling iCloud Photos can remove the smaller, optimized copies from your iPhone. If your goal is “get these photos somewhere safe,” you want a transfer plus a backup, not a sync.
Table of Contents
- What You Need to Transfer Photos from iPhone to Computer
- Step-by-Step
- Common Mistakes
- Frequently Asked Questions
- How do I get all my photos off my iPhone?
- Why can’t I transfer photos from iPhone to computer?
- What is the easiest way to transfer pictures from phone to computer?
- How to export photos from iPhone?
- Can I transfer photos from my iPhone without a USB cable?
- Is iCloud or a USB cable better for transferring photos?
- Conclusion
What You Need to Transfer Photos from iPhone to Computer
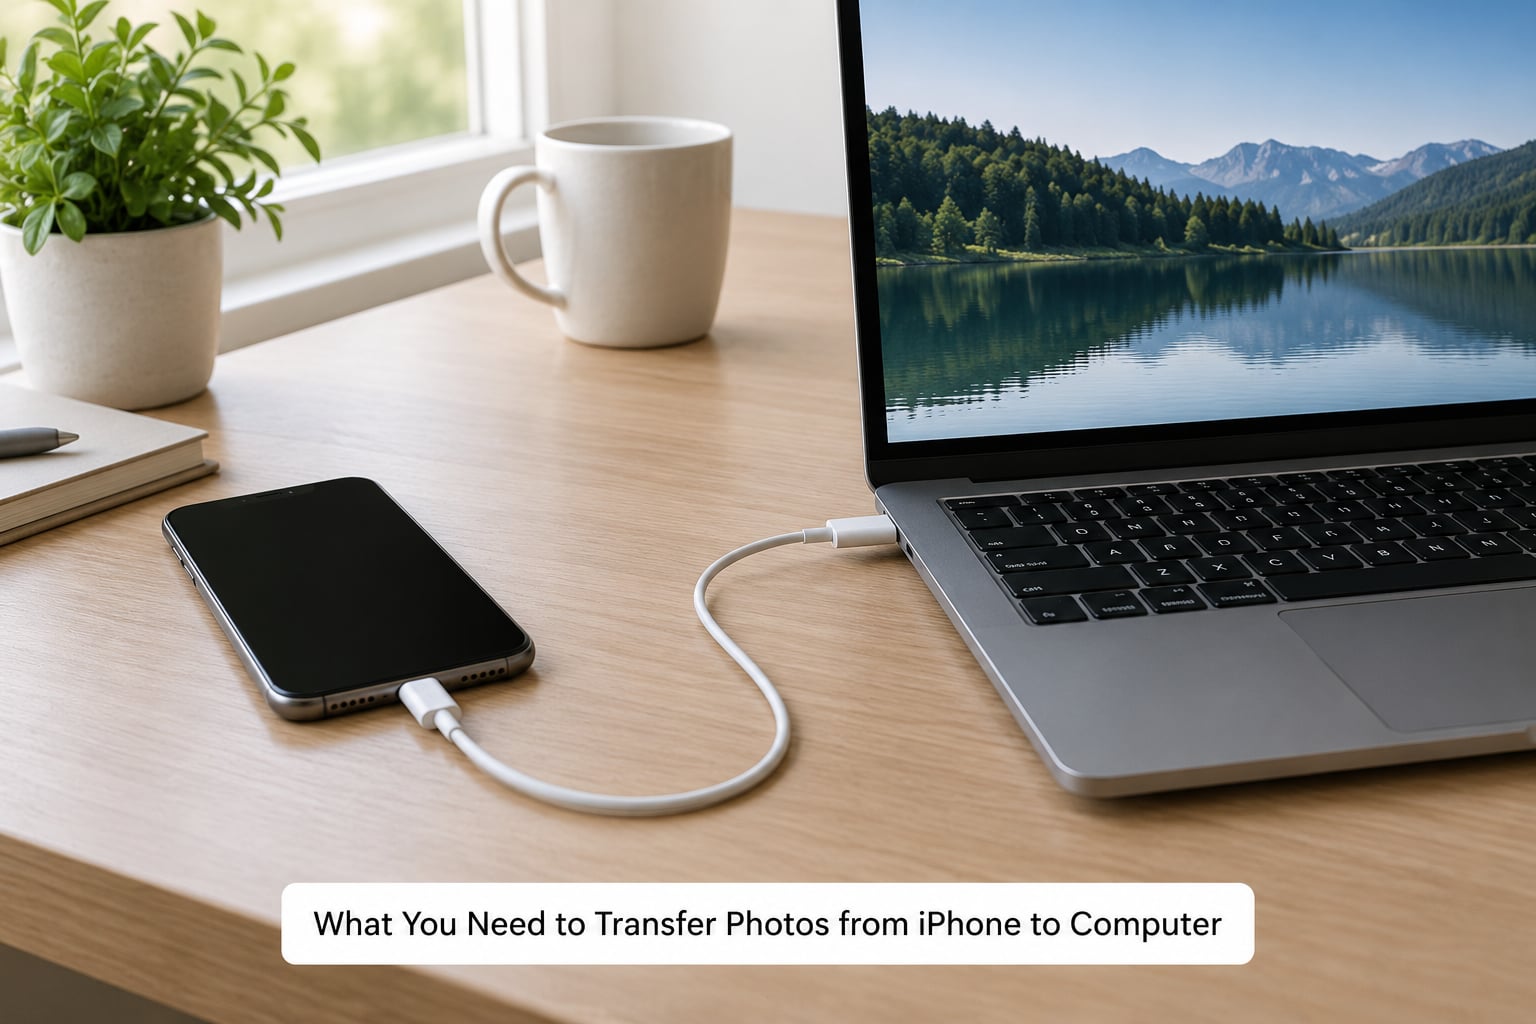
Each method has its own short list of requirements. Here is what actually matters for each one.
For the USB cable method on Windows or Mac
- A cable that both data and power. Many USB-C cables sold at checkout are charge-only, which is the single most common reason a phone never appears. If in doubt, use the cable that came in the box or a certified data cable.
- The iPhone unlocked and on the home screen. A locked phone will not expose the DCIM folder until you swipe up and enter your passcode.
- Free space on the computer. A 5,000-photo library with videos can be 30 to 60 GB, so check before you start.
- On Windows 11, the Apple Devices app from the Microsoft Store. It replaced the old iTunes driver and handles backups, but photo transfer works through File Explorer without it.
For the iCloud method
- An Apple ID with enough iCloud storage. Free accounts come with 5 GB, shared across photos, backups, and documents.
- An internet connection on both the iPhone and the computer. A 10,000-photo library is often 20 to 40 GB to upload and the same again to download.
- The iCloud for Windows app, or just a browser at iCloud.com.
For the Mac and Finder method
- A Mac with macOS and the Photos app or the Preview app.
- iCloud Photos turned off on the iPhone if you plan to import into the Mac library and do not want the two fighting each other.
Step-by-Step
Here is how the main methods compare before you pick one. All of them keep your dates and location data intact.
- USB cable with the Windows Photos app — fast, no internet needed, one guided import. Best for Windows users who want the app to handle it.
- USB cable with a File Explorer copy — fast, no internet, no file size ceiling. Best for Windows users with very large libraries.
- USB cable with Mac Finder import — fast, no internet, adds files to the Mac Photos library. Best for Mac users who want a tidy library.
- iCloud.com or the iCloud for Windows app — slower, needs internet on both devices. Best when no cable is nearby or you want ongoing access.
- AirDrop to a Mac — quick for small batches, needs WiFi. Best for a handful of recent shots.
- USB-C flash drive or SSD — fast, no internet, no computer involved. Best for archiving straight from the phone.
How to transfer photos from iPhone to computer with iCloud Photos
This is the one to use when you do not have a cable, or when you want the library to stay reachable from any computer later.
- On the iPhone, open Settings, tap Photos, and turn on iCloud Photos. Choose Optimize iPhone Storage if you want thin thumbnails on the phone, or Download and Keep Originals if you want full-size files stored locally. This choice is reversible later.
- Leave the phone on WiFi and charging. Uploads continue in the background, and closing the Photos app does not stop them.
- On the computer, install the iCloud for Windows app from the Microsoft Store, or go to icloud.com in any browser and sign in with the same Apple ID.
- Open Photos in iCloud.com, click the iPhone name in the sidebar, and select the photos or albums you want.
- Click the download arrow in the top right. iCloud hands them over as a ZIP file, which you unpack into a folder of your choice.
You can tell it worked when the downloaded folder size roughly matches the storage the Photos app reports for the library. If you are near your iCloud limit, the upload silently stops, which is a problem covered further down.
How to transfer photos from iPhone to computer with a USB cable on Windows
The File Explorer route is the one most people want, because it is a plain copy with no app in the middle and no file size ceiling.
- Connect the phone with a data cable, then unlock it. If this is the first time, tap Trust on the Trust This Computer prompt, enter your passcode, and tap Trust again.
- Open File Explorer and click This PC in the left sidebar. Your iPhone appears as a device with a capacity bar.
- Double-click the iPhone. Open Internal Storage, then DCIM. You will see numbered folders like DCIM100APPLE. Each one holds a batch of photos and clips from the camera roll.
- Select the folders, press Ctrl+C, then paste them into a folder on your drive. Copy the whole folder, not individual files. The app folders inside hold the originals, and pulling single files out breaks the pairing between a photo and its live photo or video.
- Wait for the copy to finish. Eject the phone from the taskbar tray before unplugging it.
Expect roughly 10 to 15 minutes for 1,000 photos, and 20 to 40 minutes for 10,000. Over a USB 2.0 port or a phone case with a thick cable, double that.
One caveat nobody mentions: File Explorer starts to drag around 100 to 140 files at a time. A stalled progress bar on a 5,000-photo copy is normal behaviour, not a crash. Leave it alone and it finishes.
How to transfer photos from iPhone to computer with a Mac
Finder replaced the old Image Capture window years ago, so any guide that sends you to Image Transfer or the Camera and Scanner Wizard is out of date. Here is the current flow.
- Plug in the cable, unlock the phone, and tap Trust when prompted.
- Open Finder. The iPhone shows in the sidebar under Locations.
- Select the iPhone, then click the Photos tab. Choose Import All New Photos or Import All, and tick Automatically Import if you want the folder watched going forward.
- Pick a destination: a new album, an existing album, or a folder on your drive. Click Import and give it time.
Macs made in 2020 or later, and any Mac with an Apple silicon chip, need macOS Monterey or later for the import to work. On older hardware, drag the DCIM folder from the Finder window to your desktop instead.
Importing and referencing are different. Import copies the files into your library, so they live on the Mac. Referencing just creates links to the phone’s folder, and those links break the moment you unplug. For a backup, always import.
How to transfer photos from iPhone to computer using the Windows Photos app
The Photos app handles the import end to end and tags things correctly, though it is fussier than a straight file copy. On Windows 10 you may need to install it from the Microsoft Store first.
- Connect the cable, unlock the phone, and tap Trust.
- Open the Photos app, click Import in the top right, then From connected device.
- If nothing appears, check the notification that pops up on the phone and choose Allow. Windows sometimes asks a second time for data access and that prompt is easy to miss.
- Choose Add to library or Add to collection, then press Import.
The Photos app reads the original files, so quality is untouched. Where it trips people up is reliability on very large libraries. Reports from the Microsoft Q&A boards show imports dying after four or five files with a “device not available” or “file has errors” message, and on Apple discussions and tech support forums the same failures turn up with the trust prompt never actually granted. When that happens, unplug, restart the Photos app, confirm the trust prompt again, and fall back to the File Explorer copy above. It does the same job without the drama.
Common Mistakes
The computer never shows up at all
Almost always the cable. Try a different one, plug into a different port, and skip any hub or dock. On a laptop, the port on the left side is often a charging-only port that will not carry data.
No Trust This Computer prompt appears
That prompt only appears the first time a computer pairs with the phone. If you dismissed it, reset the pairing: on the iPhone go to Settings, General, Transfer or Reset iPhone, then Reset, Reset Location & Privacy. On the Mac, go to System Settings, General, AirDrop & Handoff and turn off Allow Handoff. The prompt will return on the next connection.
Only some photos transferred
You almost certainly copied one DCIM folder instead of all of them. The camera roll spreads across several DCIM100APPLE folders once it rolls past 1,000 items. Go back and copy every folder that is there. The Photos app import has the same failure mode when the connection drops mid-run.
Duplicate photos on the computer
Importing twice creates copies, because a transfer adds files rather than matching them. The Photos app’s Import All option checks for existing files first, while a manual copy does not. Delete the duplicates, then use one method from now on.
HEIC photos will not open on Windows
Modern iPhones shoot HEIC, and Windows will not display it without the HEIF Image Extension from the Microsoft Store, plus the HEVC Video Extensions for any clips. Install both, restart Photos, and the files open normally. To get JPEGs instead, go to Settings, Camera, Formats, Most Compatible. That applies to new photos only, and it also lets you see how many files you have to convert.
Date taken or location disappeared
Copying the DCIM folders directly preserves everything, because the metadata lives inside the file. Re-saving or re-exporting through a third-party app strips it. If you already imported into the Photos app and dates look wrong, the app is filing them by import date, and the fix is to copy from DCIM instead.
iCloud is full and the upload stopped
Check Settings, Apple Account, iCloud on the iPhone. When the account runs out of space, iCloud Photos quietly stops syncing and the phone keeps showing old thumbnails. Free up space, or manage photos in iCloud.com by deleting what you have already backed up elsewhere.
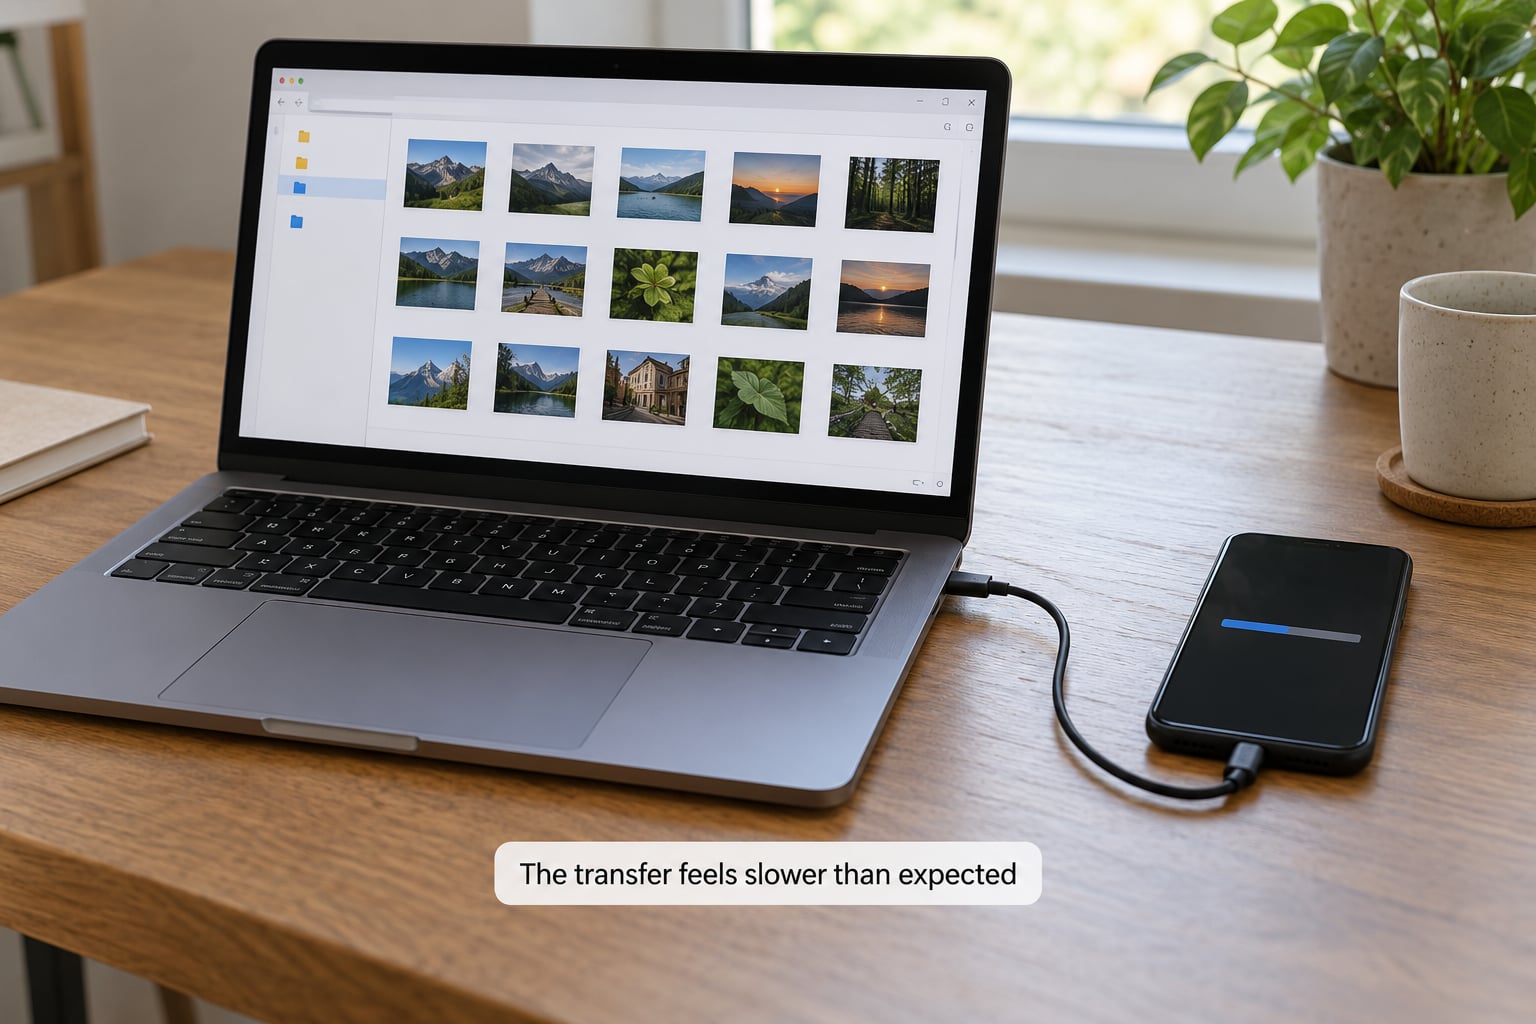
The transfer feels slower than expected
Bluetooth is the usual culprit and it is unusably slow for anything over a few hundred photos. Cloud is next, since you are uploading once and downloading again. If your library is over 5,000 items, the cable is the only sensible option.
Frequently Asked Questions
How do I get all my photos off my iPhone?
Connect the iPhone to the computer with a data cable, unlock it, and tap Trust This Computer. On Windows, open the iPhone in File Explorer, go into DCIM, and copy every DCIM100APPLE folder to your drive. On a Mac, select the iPhone in Finder, open the Photos tab, and choose Import All. Every photo stays on the phone afterwards unless you delete it yourself.
Why can’t I transfer photos from iPhone to computer?
Three causes cover almost every failure. The cable carries no data, so try a different one and skip hubs. The trust prompt was never granted, so reset Location and Privacy on the iPhone to bring it back. Or you copied one DCIM folder instead of all of them, which is why only the newest photos appear. Restarting the Photos app fixes the odd case where an import dies after a handful of files.
What is the easiest way to transfer pictures from phone to computer?
A USB cable with the phone unlocked and the trust prompt accepted. Everything else adds steps: iCloud needs an internet connection on both devices and storage space, AirDrop only works to a Mac and suits small batches, and third-party apps cost time you could spend copying folders. Cable and File Explorer handles unlimited photos at full resolution with no software to install.
How to export photos from iPhone?
Exporting means copying the originals to another device or location, and none of the methods remove them from the iPhone. For a full-resolution copy, use the USB route and copy the DCIM folders. For sharing one item, open it in Photos, tap the share arrow at the bottom left, and choose AirDrop, Messages, or Save to Files. To clear space afterwards, delete from the iPhone only after verifying the copy landed.
Can I transfer photos from my iPhone without a USB cable?
Yes, in three ways. Sign in to iCloud.com in a browser and download the originals. Install the iCloud for Windows app and manage the library from the desktop. Or use AirDrop on iPhone models that support it to send photos straight to a nearby Mac. All three need internet, and all three take longer than a cable transfer on a library of more than a few thousand photos.
Is iCloud or a USB cable better for transferring photos?
Use the cable for a one-time move, especially with 5,000 or more photos, because it is faster, needs no storage plan, and works with the internet off. Use iCloud Photos when you want the library reachable from any device over time, and run a regular iCloud backup as well. Note that turning on iCloud Photos switches the iPhone to keeping only optimized thumbnails.
Conclusion
Start with the cable. For anything under a couple of thousand photos it takes ten minutes, works with the internet off, and leaves full-resolution originals with their dates and locations intact.
Reach for iCloud Photos instead when the library has to follow you between devices, or when no cable is handy. It is slower and it needs storage, but the library stays accessible from any machine signed into your Apple ID.
Either way, open a few of the copied photos and check them before you delete anything from the iPhone. Then run a real backup in Settings, General, iCloud, Back Up to iCloud so the next transfer is an update rather than a rescue.